
Industrial Door Frame Security Repair: 2026 How-To Guide
Table of Contents
- Step 1: Inspect the Door Frame for Security and Structural Problems
- Step 2: Gather the Right Commercial Door Frame Repair Kit
- Step 3: Fix Rusted Steel Door Frame Damage Before It Spreads
- Step 4: How to Fix a Kicked-In Door Frame and Restore Security
- Step 5: Repair vs. Replace: When a Door Frame Repair Kit Wins
- Step 6: Run a Security Vulnerability Audit After Every Repair
- Step 7: Build a Preventative Maintenance Schedule for Industrial Doors
- Frequently Asked Questions
Last Updated: September 12, 2026
Step 1: Inspect the Door Frame for Security and Structural Problems
Industrial door frame security repair starts with a structured inspection, because most frame failures announce themselves long before the door stops latching. Rust, impact damage, and loose hardware appear in a predictable order.
Most inspection guides stop at "look for rust and loose screws." A frame inspection is really a security audit, you are looking for the weak points an attacker would exploit, and the structural conditions that quietly turn a rated opening into a non-compliant one. Work through the opening in this order:
1. Hinge pockets and jamb reinforcement. Look for elongated screw holes, cracked welds, and metal fatigue around the top hinge, which carries the most load. Spin each hinge screw with a driver, if it turns without biting, the reinforcement behind the jamb face has lost material. A hinge that has pulled once will pull again.
2. Strike plate and strike-side jamb. A chewed-up strike, a shimmed or moved strike plate, or migrated screw holes signal repeated forced entry or a chronically misaligned door. Check whether the strike screws reach the frame reinforcement or only the thin jamb face, screws that only bite the face are a pry-point failure waiting to happen.
3. Frame corners and welds. Inspect welded corners for separation, especially on hollow metal frames exposed to weather or washdown. A separated corner weld lets the jamb rack out of square, throwing off latch engagement and hinge geometry at once.
4. Threshold, base, and anchor integrity. Rust typically starts at the bottom of the jamb where water pools, then creeps upward behind paint. Check the frame anchors, the fasteners tying the frame to the wall or floor. A frame rusted at the base and loosely anchored can be pried away from the wall as a unit, regardless of how strong the lock is.
5. Door-to-frame gap and clearance tolerances. Consistent gaps (roughly 1/8 inch at the latch and hinge sides) indicate a plumb, square frame; gaps that pinch at the top or widen at the bottom point to frame movement or a failing pivot. On fire-rated openings, clearance is governed by the door's listing, typically a maximum of about 1/8 inch at the sides and top, with a larger allowance at the bottom (nfpa.org). A gap that exceeds the listing is a code problem, not cosmetic, because the assembly may no longer hold back smoke and flame as tested.
6. Pry points. Walk the opening and ask where a bar, wedge, or foot could be inserted. The latch side, the hinge side near the top, and any gap between the frame and the adjacent wall are the classic pry points. A frame that flexes when you push the latch side tells you the anchors or the wall behind it are failing.
A quick triage checklist tells you whether your team can handle the repair in-house or should call a commercial door service:
- Surface rust only, no metal loss → in-house prep and patch
- Rust with pitting or flaking steel → professional assessment before patching
- Hinge screws spin freely or pull out → frame reinforcement or hinge jamb patch required
- Frame is twisted or out of plumb → professional realignment
- Door was kicked in and the jamb is split → structural repair, not a hardware swap
- Frame is fire-rated → verify compliance before any modification
- Latch no longer engages the strike cleanly → adjust or repair before it becomes a security gap
- Frame flexes when pushed at the latch side → anchor or wall substrate problem, not a hardware problem
- Door-to-frame gap exceeds the door's listed clearance → code and security issue, escalate
Step 2: Gather the Right Commercial Door Frame Repair Kit
The right commercial door frame repair kit depends on which part of the frame failed, not the door type. Hinge-side damage, strike-side damage, and general rust each call for a different component, and mixing them up wastes time and material.


Match the damage to the part:
| Damage Location | Repair Component | Typical Use |
|---|---|---|
| General rust or corrosion | Jamb Patch Kit (4") | Early-stage rust on either jamb |
| Strike side damage | Strike Side Jamb Patch | Kicked-in or forced strike area |
| Hinge side, left swing | Left Hand Hinge Jamb Patch | Worn or pulled hinge pockets |
| Hinge side, right swing | Right Hand Hinge Jamb Patch | Worn or pulled hinge pockets |
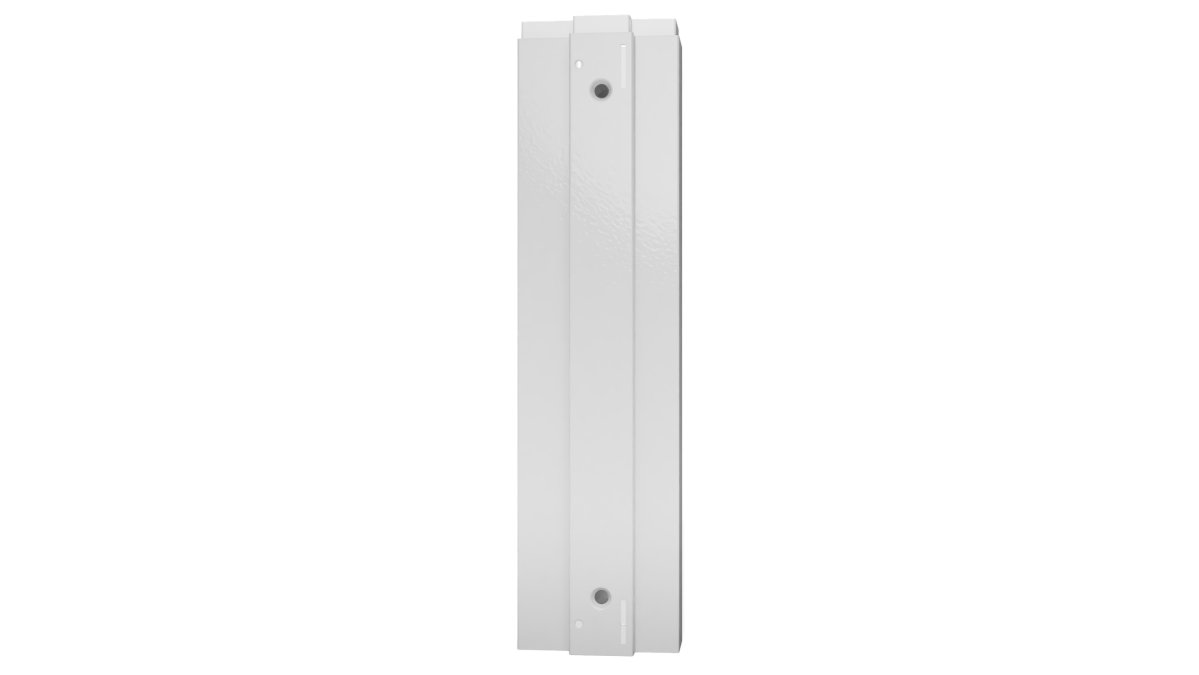
Door Innovation's Jamb Patch kits are built for exactly this decision. The 4" Jamb Patch Kit is the right call at the first sign of frame rust or corrosion on steel door frames, while the 21-5/8" hinge and strike patches restore a full hinge or strike section without touching the rest of the opening. Each kit ships with installation hardware and instructions.
Step 3: Fix Rusted Steel Door Frame Damage Before It Spreads
Rusted steel door frame repair is a race against section loss. Rust on a hollow metal frame rarely stays cosmetic; once it pits through the metal, the frame loses the structural integrity that holds hinges, strikes, and closers in alignment.
The repair sequence is straightforward:
- Wire-brush or grind the affected area down to sound metal.
- Treat the exposed steel with a rust converter or primer to stop the oxidation.
- Fit the patch over the damaged section, aligning it with the original hinge or strike geometry.
- Fasten the patch with the supplied hardware, following the kit instructions.
- Prime and paint to match the frame finish.
For frames showing early corrosion, the 4" Jamb Patch Kit is the correct first step: it covers the rusted zone, restores a solid mounting surface, and stops the damage creeping up the door jamb. Left alone, rust spreads behind the paint film and eventually reaches the frame reinforcement, at which point a patch is no longer enough.

Step 4: How to Fix a Kicked-In Door Frame and Restore Security
To fix a kicked-in door frame, you need to restore the strike-side structure, not just replace the lock. Forced entry splits the jamb at the strike, bends the security strike plate, and often cracks the frame weld at the corner.
Work through it in this order:
- Remove the damaged strike plate and any bent screws.
- Straighten or cut back the deformed jamb material so the patch sits flush.
- Fit a strike-side patch sized to cover the full damaged section.
- Reinstall a reinforced security strike plate with longer screws that reach the frame reinforcement, not just the jamb face.
- Test the door latching under load, then check the gap at the latch side.
The Strike Side Jamb Patch is designed for this exact failure. It restores the strike side of a rusted or damaged steel frame and gives the new strike plate solid metal to bite into. Without that backing, a kicked-in door will fail again at the same spot within weeks.
Step 5: Repair vs. Replace: When a Door Frame Repair Kit Wins
A door frame repair kit wins whenever the frame's overall geometry is intact and the damage is localized. Full replacement makes sense when the frame is twisted, out of plumb, or corroded through a large section, because a patch cannot correct a structural misalignment.
The hard part is applying the rule consistently across dozens of openings. Use measurable criteria rather than a gut call.
Repair when all of these are true:
- Damage is confined to the hinge area or the strike area, you can cover the affected zone with a standard jamb patch.
- The frame is square and plumb. A practical field check: measure the opening diagonally corner to corner. If the two diagonals differ by more than about 1/8 inch over a standard door height, the frame has racked and a patch will not fix the geometry.
- The surrounding metal is sound. Probe the jamb with an awl or screwdriver tip, if it dents easily or flakes, the section loss is too deep for a surface patch.
- The frame anchors are still solid and the frame does not flex when pushed at the latch side.
- The opening is not fire-rated, or the repair keeps the assembly within its listed tolerances and uses components acceptable for the listing.
Replace when any of these are true:
- The frame is bent, the corners have separated, or rust has consumed the frame reinforcement across a wide span.
- The frame has racked beyond the diagonal tolerance above, or the jambs are no longer parallel.
- The anchors or the wall substrate have failed, so the frame cannot be re-secured in place.
- The opening is fire-rated and the damage extends beyond what the listing permits you to repair in the field.
The code dimension most guides skip. Fire-rated door assemblies are tested as a system, frame, door, hinges, closer, and latching, and field modifications are constrained by the assembly's listing and applicable building and fire codes. NFPA 80 governs inspection, testing, and maintenance of these assemblies and limits what can be done in the field without compromising the rating (nfpa.org). Before you patch a rated frame, confirm the repair method and components are acceptable for that listing. A patch that restores security but voids the rating is a net loss.
The cost framing. For facility managers running dozens of openings, repair-first is usually the better economic call. A patch kit plus in-house labor typically costs a fraction of a full frame replacement and keeps the door in service instead of taking the opening offline for a day or more. Full replacement also drags in wall repair, paint, and re-inspection of the rated assembly. Door Innovation's kits are built around this trade-off: restore the damaged section, extend the life of the existing frame, and avoid the disruption of a full replacement.
The decision rule in one line: if the frame is square, anchored, and the damage fits under a patch, repair it. If it has lost its geometry or anchorage, replace it, a patch on a racked or loose frame just moves the failure to next month.
Step 6: Run a Security Vulnerability Audit After Every Repair
A security vulnerability audit confirms the repair actually closed the gap. Once the patch is installed and the hardware is back on, walk the opening and verify each point:
- Door latching engages the strike fully, with no play.
- Hinge screws are tight and the door swings without binding.
- Door closer adjustment holds the door closed against the latch.
- Door sweep and threshold seal the gap at the bottom.
- Access control integration still reads credentials and releases the lock correctly.
- Frame shows no new movement when the door is pushed at the latch side.
This audit matters most in healthcare and retirement facilities, where a door that fails to latch is both a security and a safety issue. Building code compliance often hinges on fire-rated doors closing and latching on their own, so a repair that leaves the door dragging or the latch short is a compliance problem, not just maintenance (icc-es.org).
Step 7: Build a Preventative Maintenance Schedule for Industrial Doors
Preventative maintenance is what keeps industrial door frame security repair from becoming a recurring line item. A quarterly inspection catches rust at the surface, before it reaches the frame reinforcement, and identifies loose hardware before it damages the jamb.
A practical schedule for a typical facility:
| Frequency | Task |
|---|---|
| Monthly | Check door latching, closers, and strike plate tightness |
| Quarterly | Inspect hinge pockets, frame corners, and door sweep for wear |
| Annually | Full frame inspection, rust assessment, and threshold repair |
| After any impact | Immediate inspection for frame damage and security gaps |
Industrial facility maintenance teams that follow this cadence spend less time on emergency lockout service and more on planned work. Rust caught at the surface is a patch-and-paint job; rust caught late is a frame replacement. The gap between those outcomes is almost entirely a function of how often someone looks.
Frequently Asked Questions
How to repair a door frame that has been kicked in?
A kicked-in frame usually tears the strike jamb or splits the hinge-side wood or metal. First, check the frame for cracks and misalignment. If damage is limited to the strike area, a strike-side Jamb Patch can restore the jamb in about an hour. For hinge-side damage, use a left- or right-hand hinge Jamb Patch with a matching hinge pocket. If the frame is bent more than a few millimeters, call a commercial door specialist before installing a patch.
Can you repair a rusted steel door frame without replacing it?
Yes, if the rust is caught early. Surface rust and light pitting can be treated with a rusted steel door frame repair kit such as the Jamb Patch Kit (4"), which covers the damaged area and restores the frame's profile. Once rust has eaten through the metal or the frame has lost structural integrity, replacement is the safer choice. Inspect frames quarterly to catch rust before it spreads.
How much should it cost to repair a door frame?
Costs vary by damage type and frame material. A targeted repair using a commercial door frame repair kit typically runs a fraction of a full frame replacement, since you avoid demolition, new framing, and refinishing. Labor is the biggest variable; many maintenance teams complete a patch install in under two hours.
What are the signs of structural failure in a commercial door frame?
Watch for doors that stick or swing open on their own, visible gaps at the strike or hinge, cracks in the jamb, rust that has perforated the metal, and screws that no longer hold. A frame that flexes when the door closes is also a warning sign. Any of these can compromise security and should be assessed by a qualified technician before the opening is used again.
Industrial door frame security repair comes down to catching damage early and restoring the frame instead of replacing it. Door Innovation builds the Jamb Patch and Jamb Anchor kits that make that possible, with a simple three-step installation process, hardware included, and a cost-effective alternative to full frame replacement that keeps facilities safe, secure, and presentable. Get started with Door Innovation and extend the life of your existing door openings.